


Elegoo Mars Resin SLA Printer: Top Budget 3D Printer. Good for Propmakers?
- Adriana Abruna
- Nov 9, 2019
- 6 min read

I recently got one of those popular Elegoo Mars, just so I could see first hand what all the fuzz was about. Well, I've got to say, consider me impressed.
I've added a brief explanation of setup, materials, printing, and post-processing before going into details about the uses in prop-making.

3D PRINTING TYPES
For those not very familiar with 3D printing, there are seven different types of 3D printing
•Fused deposition modeling (FDM)
•Stereolithography(SLA)
•Digital Light Processing(DLP)
•Selective Laser Sintering (SLS)
•Selective laser melting (SLM)
•Laminated object manufacturing (LOM)
•Digital Beam Melting (EBM)
There are other subcategories like DLP-SLA, Laser-Based SLA, and MSLA, but we will only be focusing on the most popular ones.
FDM and SLA and are the most commonly used at the moment. FDM, commonly known as filament printing, being the most used due to its fast and affordable printing properties, and SLA following up due to its highly detailed printing capacity. The Elegoo Mars is an affordable MSLA printer that uses UV photocuring technology. Basically, for all these processes, a vat of photo-reactive liquid resin is selectively exposed to light in order to form thin solid layers that stack up to create one solid object after being completely cured.
PRICING
The Elegoo Mars is an extremely affordable resin printer for its amazing detailed prints and ease of use. As of November 2019 prices vary between $259-$280 USD over at Amazon, making it one of the most affordable resin printers in the market at the moment.
Alternatively, as Elegoo now teamed up with MyMiniFactory, you can grab yourself a pretty great deal that includes high detailed Mini-figures and 500ml of resin so you test it right away. You can go and check it out over at MyMiniFactory.

SET UP AND MATERIALS
Setting up the Elegoo Mars is extremely easy. It took under 20 minutes to get out of the box and ready to print. Check out Just Vlad unboxing and set up video and check how easy it is!
Just as many of the modern desktop LCD 3D printers, the Elegoo Mars is compatible with many 405nm UV-sensitivehigh-quality resins. No resin ships with the printer though, so you’ll need to order some of your own before printing.
Elegoo has its own resin brand, which after many uses I can personally say has incredible detail retention and has worked flawlessly so far. It's one of the most affordable high quality resins out there, which means it's sometimes out of stock, so I suggest getting 1-2 bottles if you plan on doing heavy printing.
Other popular resin brands include:
The printer comes with some very handy essentials that will be much needed once you get printing.
•MARS 3D Printer * 1 •Build Platform * 1 •Resin Tank * 1 •USB * 1 •Measuring Cup * 1 •Mask * 1 •Gloves * 1 •Paper Strainers * 10 •Scraper * 1 •FEP Release Liner * 1 •Power Adapter 60W * 1 •User Instruction * 1
In order to get things started, you'll first need some materials first. For your convenience, I've made a list of everything you'll need to get started. I'll mark with ✘ what's not included and ✔ what's included.
✘ UV Chamber or DYI UV Chamber
✘ Funnel
✔ Paper Masks ( included) or Respirator
✔ USB
✔ Scraper
Technical Specifications
Build Volume: 120 x 68 x 155 mm (4.7 x 2.6 x 6.1 inches)
Layer Height: 10+ microns
Resolution: 2560 x 1440 pixels
Bed-Leveling: Manual (assisted)
Display: 3.5″ full-color touchscreen
Connectivity: USB
Built-in Camera: No
Third-Party Materials: Yes
Materials: 405NM UV resin
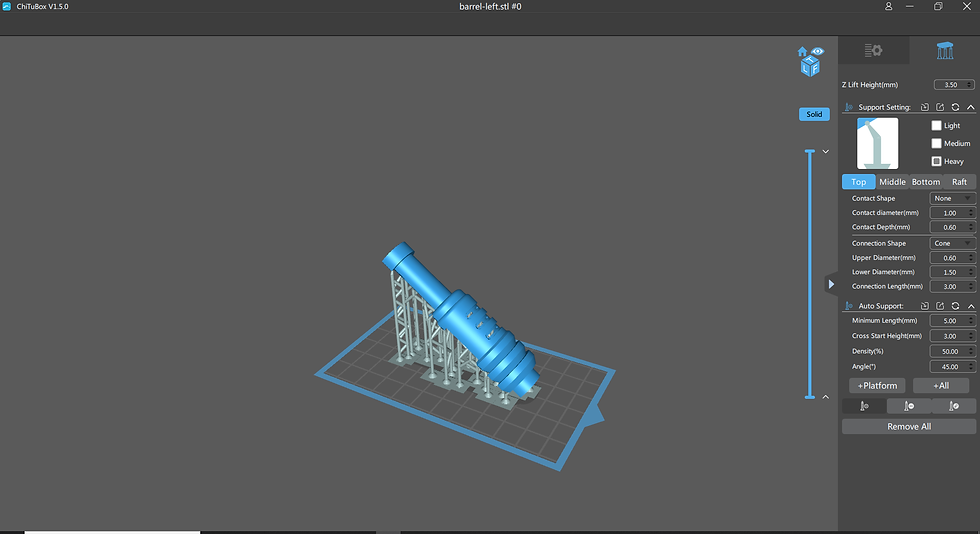
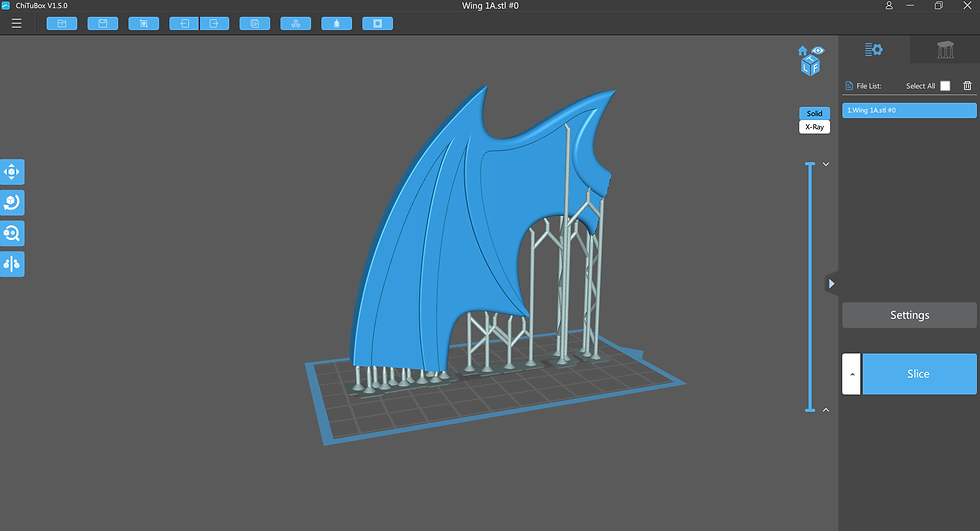
Recommended Slicer: ChiTu Box
Printing and Post Processing
Once everything is set up printing isn't rocket science, except if you don't inform yourself with the basics that failure might be inevitable. There are some important things to consider once you're getting your model ready in your slicer, in this case, I use the one that comes with the Elegoo, ChiTuBox.
✧ Orientation
- Best is to print at 30-40º to drastically increases the success rate
✧Preventing an overhang
-Without proper support, overhangs fail to print or only partially form as an undeveloped feature. In order to avoid this, make sure to add supports to every overhang.
✧Preventing suction cups
-Hollow models and concave surfaces risk creating a suction cup during printing. In order to avoid this incline the model to be at a 5–15° angle. For models that contain internal or enclosed hollows add drainage holes to prevent resin from getting suck inside the model. You don't want to deal with this, trust me.
Post Processing
Once the model is finished and ready to clean take that spatula and pop it right off. While using gloves to hold the model, dip it in the container with alcohol and clean it thoroughly, then remove from the alcohol bath and wash the residue in the water container.
After it's dry, in order for the model to completely cure, it needs to be placed inside a UV chamber and let sit in there for around 10 minutes. If a UV chamber is not available, the semi-direct sun will work.
Right after than UV bath the model is ready to be sanded, primed, and painted! Parts can be left unpainted as well, but we all know you want to paint that mini you just printed.
Elegoo for Propmaking
Before getting the Elegoo Mars I had worked with resin prints over with a Form 2. The major difference between these 2, besides the huge price gap, would be the print size. Form 2 has a 145 × 145 × 175 mm build volume, while the Elegoo Mars has a 120 x 68 x 155 mm one.
This could be an issue if you're planning on printing large-scale items. However, makers like Eric Jones from Coregeek have shown us that its small bed size doesn't have to limit you to print small items. He printed a whole V Blaster modeled by @nachete_2016.

Another example on using the print space wisely is Alina over at Spoon_makes who even used the Elegoo for one of her last cosplays for Blizzcon 2019.

Josh Tavena from Beardlessprops printed this Indiana Jones headpiece for the RA staff, and the details are incredible. Another example of how even though you might not be able to print bigger parts, being able to print the smaller parts without much post-processing is a great advantage.

I follow many makers who lately got their own Elegoo Mars to try out, and I can say it does live up for the hype. When I decided to get mine I did some research to see if it was worth getting since I don't normally do a lot of small detail printing. After a while I kept seeing examples of Minis for many tabletop games, and while it did impress me immensely it didn't convince me since I wasn't seeing any examples of larger projects and I don't have planned on making mini-figures in the near future ( never say never).
However, owning and mostly working with FDM printers for a while taught me that printing small detailed parts on filament prints tends to be very difficult and requires lots of post-processing to get as clean as needed. Being able to print smaller parts on a resin printer will facilitate so many things I'd say just because of that, it's worth it.
That said, I consider the Elegoo Mars is a great printer for makers who are interested in learning how to work with these kinds of printers. It could be somewhat limiting when printing bigger parts, but if sliced and aligned wisely, big and complex prints can be achieved.
If you're considering getting one, for this price it doesn't get any better, so I encourage you to go ahead and try it out!
PROS
Excellent print quality
Very Minimal setup
Ease of Use
Affordable
Takes little space
Flexible resin compatibility
Industrial-grade design for durability and stability
CONS
Small Build Volume
Not the fastest print time
Can get messy without proper equipment
Strong Odor when printing
I would LOVE to see what projects you've been able to make with the Elegoo Mars. Feel free to tag me over on Instagram and Facebook with those props! Thanks for taking the time to read!


Comments